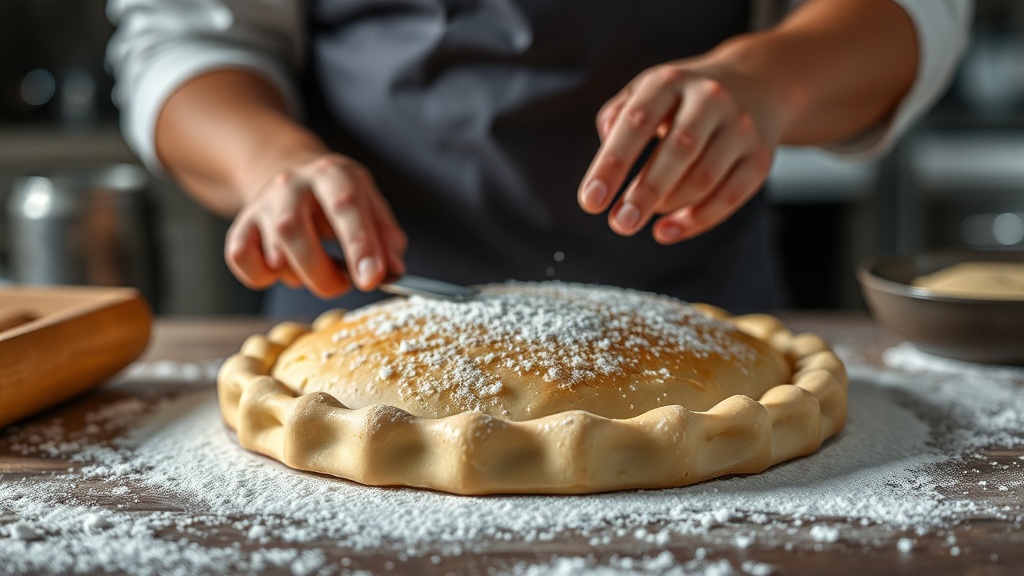
The Rapid Chill Method for Perfect Pastry Crusts

Quick Tip
Always chill your dough for at least 30 minutes before rolling to ensure a flaky texture.
Imagine pulling a beautiful fruit tart from the oven, only to find the bottom crust is a soggy, limp mess instead of a crisp, flaky layer. This happens because the dough warmed up too much during handling. This post explains the Rapid Chill Method—a technique designed to keep your fats solid and your pastry layers distinct.
Why Does Pastry Crust Get Soggy?
Soggy pastry usually results from fat melting into the flour before it ever hits the oven. When you work dough with warm hands or a warm counter, the butter or lard turns into a liquid state. This liquid coats the flour particles, preventing the steam-driven "lift" that creates those flaky layers we all love. To prevent this, you need to maintain a strict temperature differential between your fats and your liquids.
A great way to ensure your ingredients are at the right temperature is to follow the scientific principles of pastry-making regarding fat solids. If you're using a high-quality butter like Kerrygold, remember that its higher fat content makes it even more sensitive to heat.
How Do You Use the Rapid Chill Method?
The Rapid Chill Method involves alternating between refrigeration and freezing to reset the dough's temperature. It's a simple way to ensure your pastry stays workable without losing its structural integrity.
- The Initial Mix: Mix your dry ingredients and fats until the fat is the size of peas.
- The Cold Shock: Add ice water, but stop the moment the dough just comes together.
- The First Chill: Wrap the dough in plastic wrap and refrigerate for at least 30 minutes.
- The Rapid Reset: If the dough feels even slightly tacky, put it in the freezer for 10 minutes before rolling.
Don't skip the freezer step—it's the difference between a limp crust and a professional-grade one. Even a quick 10-minute blast in a freezer can fix a dough that's getting too soft from the heat of your kitchen.
What Are the Best Tools for Cold Pastry?
Using the right equipment helps you avoid the heat of your own hands. A marble rolling pin or even a heavy glass bottle from your pantry can work, but a dedicated tool is better.
| Tool Type | Benefit | Recommendation |
|---|---|---|
| Rolling Pin | Prevents heat transfer from hands | Marble or Stainless Steel |
| Mixing Bowl | Keeps dough cold during mixing | Stainless Steel or Glass |
| Surface | Provides a stable, cool base | Chilled Marble Slab |
If you're working with high-hydration doughs, you might find interest in the science of sourdough starters, as both rely heavily on temperature control and fermentation timing. For more technical data on food temperatures, the FDA website offers great resources on food safety and temperature standards.
Try this next time you make a pie. Your crust will actually hold its shape, and you'll get that satisfying crunch in every single bite.