Building Layers with Homemade Vegetable Stock

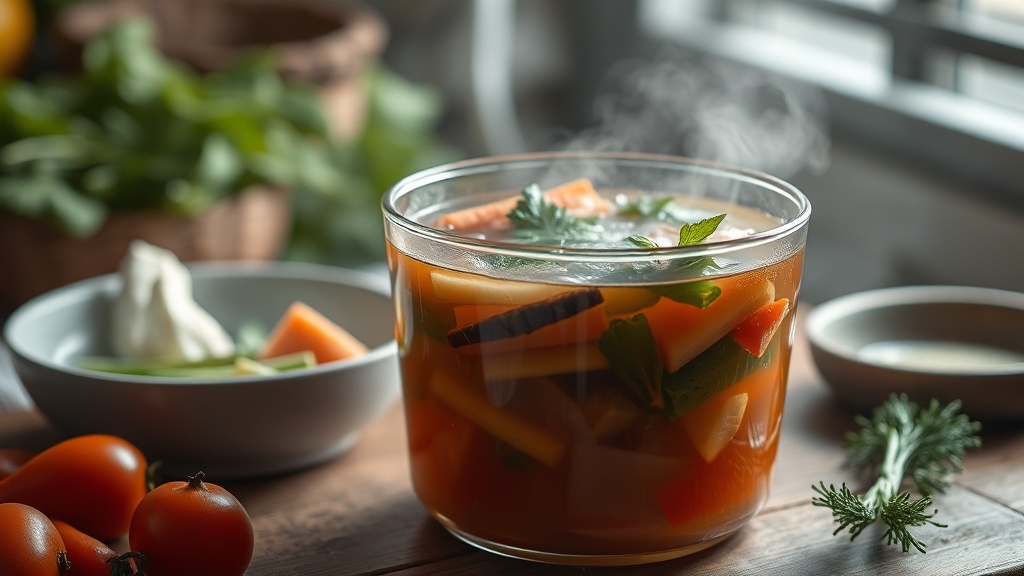
A heavy cast iron pot sits on the stove, filled with charred onion skins, bruised celery stalks, and the woody stems of parsley. The liquid inside is a deep, translucent amber, shimmering slightly under the kitchen lights. This is the foundation of great cooking. Making your own vegetable stock isn't just about saving money; it's about controlling the depth of flavor in your soups, stews, and grains. We're going to look at how to build complex layers of flavor using scraps, how to avoid common mistakes like bitterness, and how to store your liquid gold properly.
What are the best vegetables to use for vegetable stock?
The best vegetables for stock are those that provide a balance of sweetness, earthiness, and aromatics without becoming overly bitter or sweet.
Most people think they need to buy expensive organic kits, but that's nonsense. You can use whatever is sitting in your crisper drawer. A classic base relies on the "holy trinity" of aromatics: onions, carrots, and celery. However, the real magic happens when you add variety. If you have leftover leeks, parsnips, or even the ends of a fennel bulb, toss them in.
I usually keep a dedicated container in my freezer for "stock scraps." When I see a bunch of parsley, I don't throw the stems away. I chop them up, throw them in the bag, and wait. It's a zero-waste way to build flavor. Just be careful with brassicas—broccoli, cauliflower, or cabbage can make your stock taste sulfurous and unpleasant if you overdo it.
Here is a quick guide to what works and what doesn't:
| Vegetable Category | Examples | Flavor Contribution |
|---|---|---|
| Aromatics | Onion, Leek, Shallot, Garlic | Sweetness and depth |
| Root Vegetables | Carrot, Parsnip, Turnip | Earthiness and body |
| Greenery | Celery, Parsley Stems, Fennel | Freshness and brightness |
| Avoid/Limit | Broccoli, Cabbage, Cauliflower | Sulfuric/Bitter notes |
One thing to watch out for is the sugar content. Carrots are great, but if you use too many, your stock might end up tasting more like a dessert than a savory base. Balance is everything. If you find your stock is leaning too sweet, you can counteract that later in a recipe by using acid to balance the richness.
How do you prevent vegetable stock from tasting bitter?
Bitterness in vegetable stock is usually caused by over-roasting vegetables or using certain bitter greens and stems.
If you want a deep, dark stock, you might roast your vegetables before simmering. This is a great technique. But if you leave them in the heat too long or use high heat without watching them, those edges turn into carbon. Once that happens, the bitterness is permanent. You can't un-bitter a soup. It's a lost cause.
Another culprit is the use of certain herb stems. While parsley stems are fine, be wary of the stems from more bitter herbs or even the skins of certain citrus if you're trying to be adventurous. Also, if you're using dried mushrooms to add umami, ensure they are high quality. Poor quality dried goods can introduce a medicinal aftertaste.
To keep things clean, I recommend a two-step process:
- Sauté the aromatics: Lightly cook your onions and carrots in a bit of oil or butter to release sugars.
- Simmer gently: Never let a stock reach a rolling boil. A gentle simmer keeps the particles suspended and prevents the liquid from becoming cloudy or bitter.
If you've ever wondered why some stocks look murky while others are crystal clear, it's usually about the temperature. A violent boil breaks up the plant matter and emulsifies the oils, making the stock cloudy. Keep it low and slow. It's not a race.
How much time should you simmer vegetable stock?
Vegetable stock typically requires 45 to 60 minutes of simmering to extract maximum flavor without breaking down the cell walls too much.
Unlike bone broth, which can sit on a stove for 12 to 24 hours to extract collagen, vegetable stock is more delicate. If you simmer vegetables for too long, you end up with a "dead" flavor—the bright, aromatic notes disappear, leaving only a dull, heavy taste. You want to extract the essence, not the mush.
I usually aim for about 45 minutes. If I'm using tougher vegetables like parsnips or thick leek whites, I might push it to 75 minutes, but that's the limit. If you want to add more depth, instead of simmering longer, try adding more variety of ingredients. It's about the complexity of the ingredients, not just the time on the clock.
For a more professional touch, you might look into the science of stock extraction to understand how heat affects molecular structures. But for most home cooks, the 1-hour rule is a perfect baseline.
The Pro's Workflow
When I'm in the middle of a big prep-day in my kitchen, I don't just throw everything in a pot and walk away. I follow a specific order. It makes the final product much more layered.
- Step 1: The Sear. Sauté the onions and carrots until they just start to soften and turn golden. This creates a foundation of flavor.
- Step 2: The Aromatics. Add your garlic, ginger, or peppercorns. These are volatile and can burn easily, so they go in later in the sauté process.
- Step 3: The Liquid. Add cold water and your remaining vegetables. Cold water helps extract flavors more cleanly than starting with hot water.
- Step 4: The Simmer. Bring to a boil, then immediately drop to the lowest possible heat.
- Step 5: The Strain. Once the time is up, strain through a fine-mesh sieve. Do not press on the vegetables to squeeze out more liquid; this will push sediment and cloudiness into your clean stock.
It's worth noting that if you're using a heavy-duty pot like a Le Creuset or a Lodge cast iron, you'll retain heat much better, which is great for a steady simmer. However, be careful with acidity in the pot. If you're using a lot of tomato skins for color, the acid can react with certain metals, though most modern enameled cast iron is perfectly safe.
Once your stock is strained, let it cool. I don't keep it in the fridge while it's still steaming hot. That creates condensation in the container, which can lead to spoity issues. Let it sit on the counter until it's room temperature, then move it to the fridge or freezer. If you're making a massive batch, use silicone ice cube trays to freeze the stock in small portions. It's much easier to grab one "cube" of flavor for a pan sauce than to thaw a whole quart of liquid.
If you're using the stock to build a sauce, remember that the liquid has already been concentrated. You might need to adjust your seasoning later. If your stock is quite savory, you might find you need to add a bit more salt or even a splash of vinegar to bring it to life. This is where the connection between salt and texture becomes apparent—the salt won't just make it salty; it will change how the liquid feels on your palate.
Don't be afraid to experiment. If you have leftover roasted squash, throw a few chunks in your next batch. If you have some toasted cumin seeds, try adding them. The beauty of a homemade stock is that it's a living, breathing part of your pantry. It's not a static recipe; it's a tool for your future cooking.
Steps
- 1
Gathering Scraps
- 2
Simmering the Aromatics
- 3
Straining and Storing